
What Is UV Printing for 3D Prints?
UV printing on 3D prints opens exciting possibilities. This technology lets you add full-color images directly onto printed parts. It works differently than painting or hydro dipping.
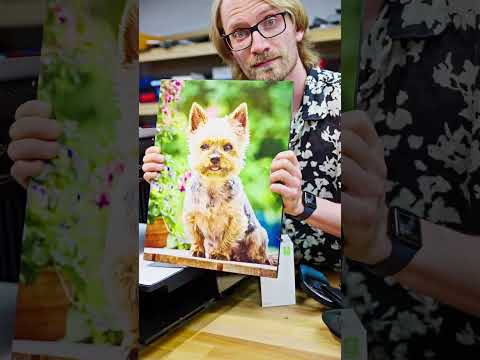
Thomas Sanladerer, a popular 3D printing YouTuber, recently explored this technique. He tested the eufy Make E1 UV printer on various 3D printed objects. The results show real potential for hobbyists and professionals.
How UV Printing Works
UV printers use special inks that cure under ultraviolet light. The printer deposits ink onto your surface in precise patterns. Then UV LEDs instantly harden the ink in place.
This process creates vibrant, durable graphics. The ink bonds directly to your 3D printed surface. Unlike stickers or decals, it won’t peel or fade quickly.
Key Benefits Over Traditional Methods
- Full-color printing in one pass
- Works on curved and textured surfaces
- No drying time needed
- Precise placement of complex designs
- Durable results that resist scratching
Practical Applications for Your Projects
This technology shines for customization projects. Think control panels with labeled buttons. Or custom enclosures with professional-looking logos.
Gaming accessories benefit greatly from UV printing. You can add detailed graphics to controller shells. Miniature bases get full-color terrain effects easily.
Best Surfaces for UV Printing
Smooth surfaces produce the sharpest results. Consider how your print orientation affects the final look. Light-colored filaments work best as a base.
If you want optimal results, check out tips on making your 3D printed parts look better. Surface preparation matters for UV ink adhesion.
- PLA and PETG work well
- White or light gray filaments are ideal
- Sand rough surfaces for better results
- Clean parts thoroughly before printing
Combining Technologies Effectively
UV printing complements 3D printing perfectly. You handle geometry with your 3D printer. Color and graphics come from the UV printer.
This workflow saves significant time. Painting detailed graphics by hand takes hours. UV printing accomplishes the same in minutes.
Design Considerations
Plan your projects with both processes in mind. Leave flat areas for important graphics. Consider why orientation matters in 3D printing for best surfaces.
Vector graphics produce the crispest results. Prepare your artwork at high resolution. The printer handles fine details surprisingly well.
Limitations to Keep in Mind
UV printing has some constraints worth noting. Height limitations restrict very tall objects. Deep recesses can’t receive ink properly.
The technology works best on relatively flat areas. Extreme curves may cause distortion. Test on sample pieces before final projects.
Cost Versus Traditional Finishing
UV printers require upfront investment. However, per-part costs stay low. Ink consumption for typical projects is minimal.
For production runs, this makes financial sense. JawsTec offers professional finishing options at jawstec.com/quote if you need volume work done.
Getting Started Tips
Start with simple flat objects. Coasters and nameplates work great for learning. Build skills before tackling complex parts.
Calibrate your printer carefully for accurate placement. Most UV printers include alignment tools. Take time to master these features first.
The combination of 3D printing and UV printing expands creative possibilities. What once required expensive equipment or outsourcing now happens on your desktop. This technology continues making professional results accessible to everyone.
Sources
Source: Full-color UV printing #sponsored #eufyMake #eufyMakeE1 #uvprinter #uvprinting #diy #3dprinter by Thomas Sanladerer (YouTube) — https://www.youtube.com/watch?v=PS-jFonEJ1Q