
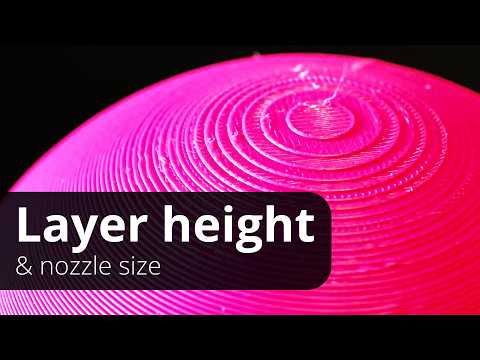
Why Layer Height Matters in 3D Printing
Choosing the right layer height affects everything about your print. It impacts surface quality, strength, and how long your project takes. Understanding this setting helps you make better prints every time.
Angus from Makers Muse breaks down layer height in his 3D Printing Mastery series. His practical advice helps both beginners and experienced makers optimize their prints.
The Basics of Layer Height
Layer height is the thickness of each horizontal slice your printer creates. Thinner layers mean smoother surfaces but longer print times. Thicker layers print faster but show more visible lines.
Most desktop printers use layer heights between 0.1mm and 0.3mm. Your choice depends on what you’re making and how it needs to look.
How Nozzle Size Affects Your Options
Your nozzle diameter limits your layer height choices. A standard 0.4mm nozzle works best with layers between 0.12mm and 0.28mm. Going outside this range causes quality problems.
The general rule is simple. Your layer height should be 25% to 75% of your nozzle diameter. This ensures proper layer adhesion and consistent extrusion.
Choosing the Right Layer Height
Different projects need different settings. Here’s when to use each range:
- 0.1mm – 0.15mm: Detailed models, miniatures, visible decorative pieces
- 0.2mm: General purpose, good balance of quality and speed
- 0.24mm – 0.3mm: Functional parts, prototypes, hidden components
For functional parts that need strength, layer height matters less than print orientation. Focus on how layers align with stress points.
When Fine Layers Make Sense
Fine layers shine on curved surfaces and gentle slopes. They reduce the stair-stepping effect that makes prints look rough. Miniatures and display models benefit most from thin layers.
But fine layers aren’t always better. Vertical walls look nearly identical at 0.2mm and 0.1mm. You’d double your print time for minimal visual improvement.
Speed vs Quality Trade-offs
Thicker layers dramatically reduce print time. A part at 0.3mm prints roughly three times faster than at 0.1mm. For prototyping, this speed boost is valuable.
Consider these factors when deciding:
- Will the part be visible or hidden?
- Does the design have many curved surfaces?
- How quickly do you need the finished part?
- Will you post-process the surface?
If you plan to sand and paint your print, thicker layers work fine. The finishing work hides layer lines anyway. Check out our guide on making 3D printed parts look better for more tips.
Variable Layer Height: Best of Both Worlds
Modern slicers offer variable layer height. This feature uses thin layers where needed and thick layers elsewhere. You get quality where it matters and speed where it doesn’t.
Curved tops and detailed areas get fine layers. Simple vertical sections use thicker layers. The result is faster prints without sacrificing quality.
Practical Tips for Better Prints
Start with 0.2mm for most projects. It’s the sweet spot between quality and speed. Adjust from there based on your specific needs.
Test your settings on small prints first. A quick calibration cube reveals how different layer heights look on your machine. This saves time and filament on larger projects.
For professional-quality parts or production runs, consider JawsTec’s printing services. Industrial machines offer precision and consistency that desktop printers can’t match.
Final Thoughts
Layer height is a powerful setting once you understand it. Match your layer height to your project’s needs. You’ll get better results and waste less time on unnecessary quality.
Sources
Source: What layer height should you use? 3D Printing Mastery by Makers Muse (YouTube) — https://www.youtube.com/watch?v=0TLCu7qG3Rg